Setup Probo for a Drupal site with an Install Profile.
Want to use a Drupal Install profile with your Probo builds? With this setup you do not need to import a database because the drush site-install command will drop your database tables on build.
Below is a step by step example of a Drupal site install using Zivtech’s Bear installation profile. Note that this walkthrough does not use all the available parameters provided by the Drupal plugin. You can find all available parameters in the Drupal plugin documentation.
You will need:
- A standard Drupal site
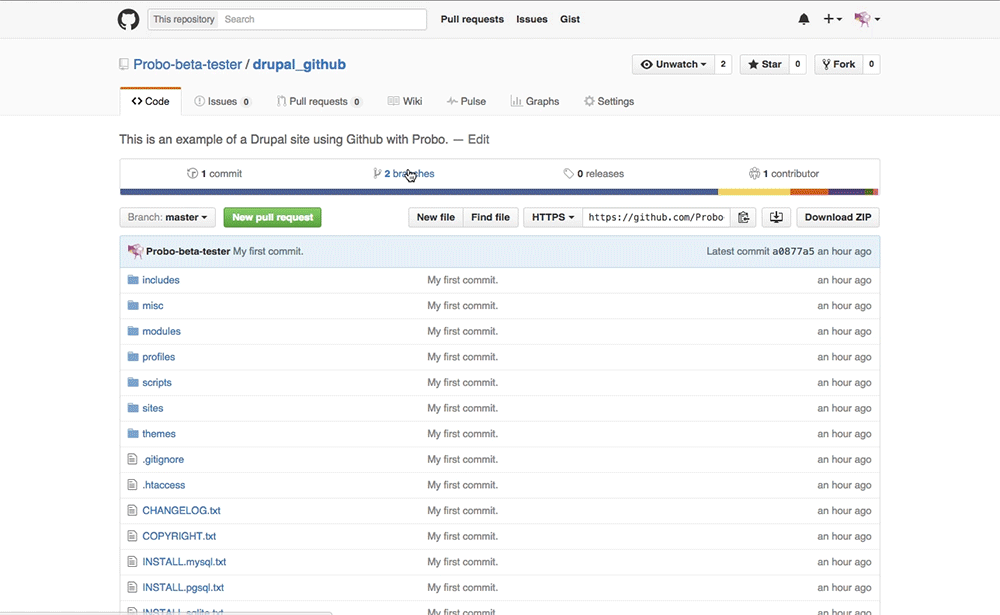
- Your code stored in a repository on GitHub (although this tutorial uses GitHub, the same principles apply if you are using Bitbucket)
- A really awesome Drupal install profile.
Sign in and Sync up.
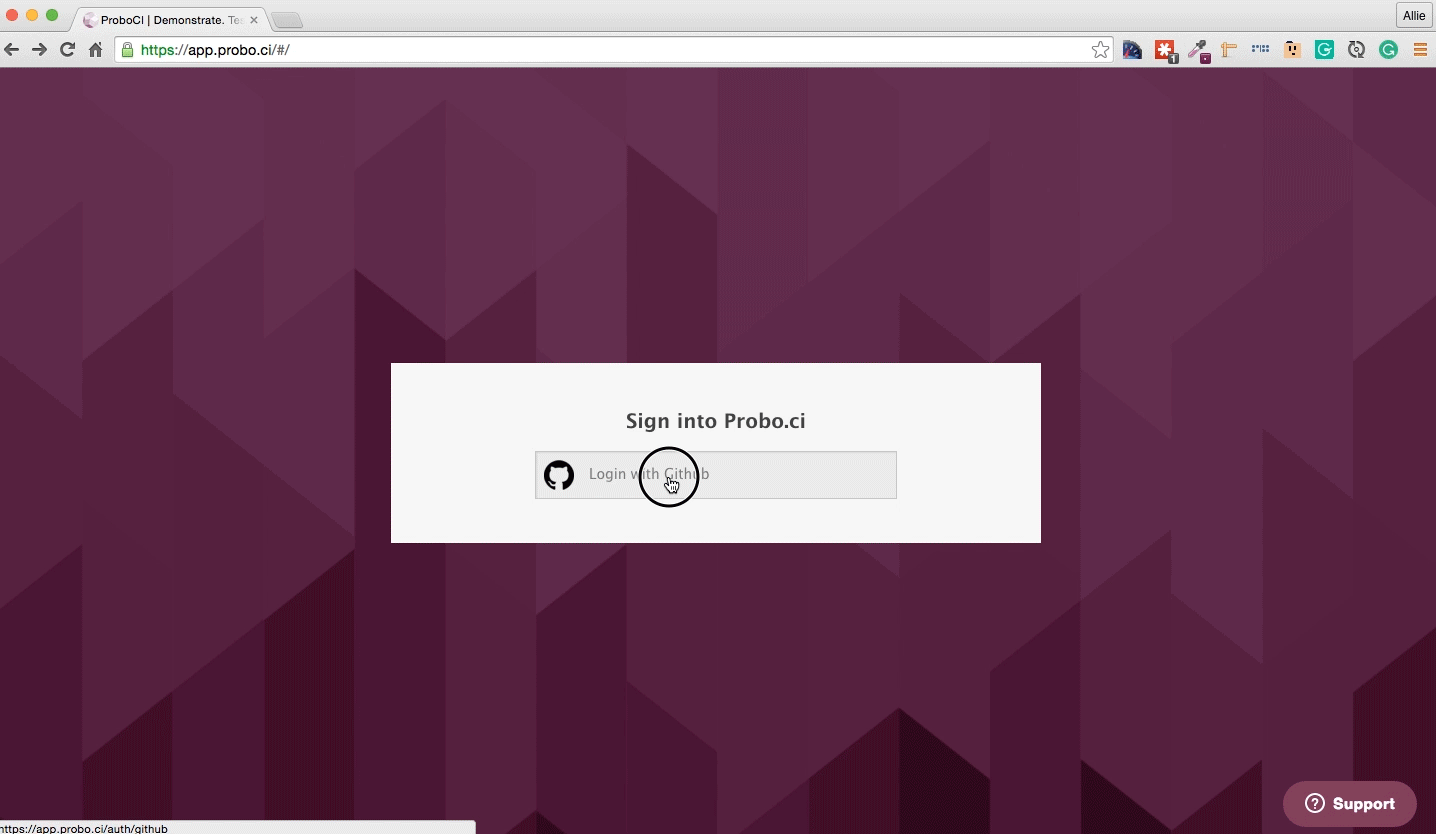
Step 1: Sign into the Probo app and authenticate GitHub.
Go to the Probo app and click on the Login to GitHub button. Once you get to GitHub, click ‘Authenticate application’.
Step 2: Sync your GitHub Repos.
Your GitHub repositiories will be synced automatically. You can always click the ‘Sync Repos’ button at the top right corner if you need to manually update your dashboard. Click on the button next to each repo that you want to use with Probo CI.
Define your Install Profile configuration.
The real magic of Probo.CI is automating pull requests to create test environments for you. In order to do that, you will need to add a few things to your project.
Step 7: Create a new branch.
cd into your project and create a new branch.
git checkout -b probo-buildStep 8: Create your .probo.yaml file.
You will need a .probo.yaml file in the root of your directory. You can task Probo.CI to run any number of build steps. Each step is a runnable plugin, and will get a status update sent to hosted repository for the commit. * Remember that indentation and spacing is important for yaml files.
vim .probo.yamlStep 10: Declare your assets and build your steps.
You can use the Drupal plugin to build your steps. If you would like to use the default shell plugin see the install profile documentation.
steps:
  - name: Probo site setup
    plugin: Drupal
    makeFile: build-bear.make
    installArgs: "--site-name='Install Profile Drupal Plugin Demo'"
    clearCaches: true
    profileName: bear
    runInstall: true
    revertFeatures: true
Step 11: In your new branch probo-build, add and commit your files to your remote origin.
git add .probo.yaml
git commit -m "Adding .probo.yaml."
git push -u origin probo-build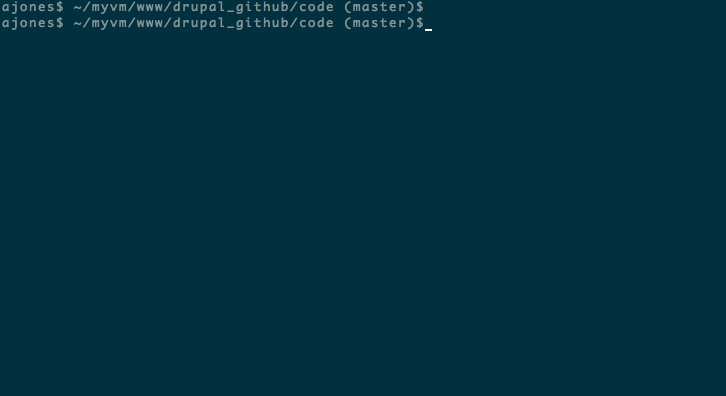
View your build.
Step 12: Go to your GitHub account. You will see your new branch inside your project. https://github.com/Probo-Demos/install-profile-demo/branches
Step 13: Create a pull request.
Click ‘New Pull Request’.
Step 14: Bask in the glory of Probo.CI.
In GitHub you will see the Probo.CI build steps. You can now click on any of the details links and it will direct you back to the Probo.CI dashboard.
Step 15: See your Probo.CI build.
In your Probo.CI dashboard, click on ‘View build’ and your site will open in a new tab. This Probo.build link uses the database defined in your .probo.yaml file and the code from your pull request.
Step 16: Share your Probo.build link with clients, managers, even your parents.
Note: It might take a few seconds for your Probo.CI environment to build. Wait until all checks have passed before following your Probo.build link.
In this repo there are two pull requests: